
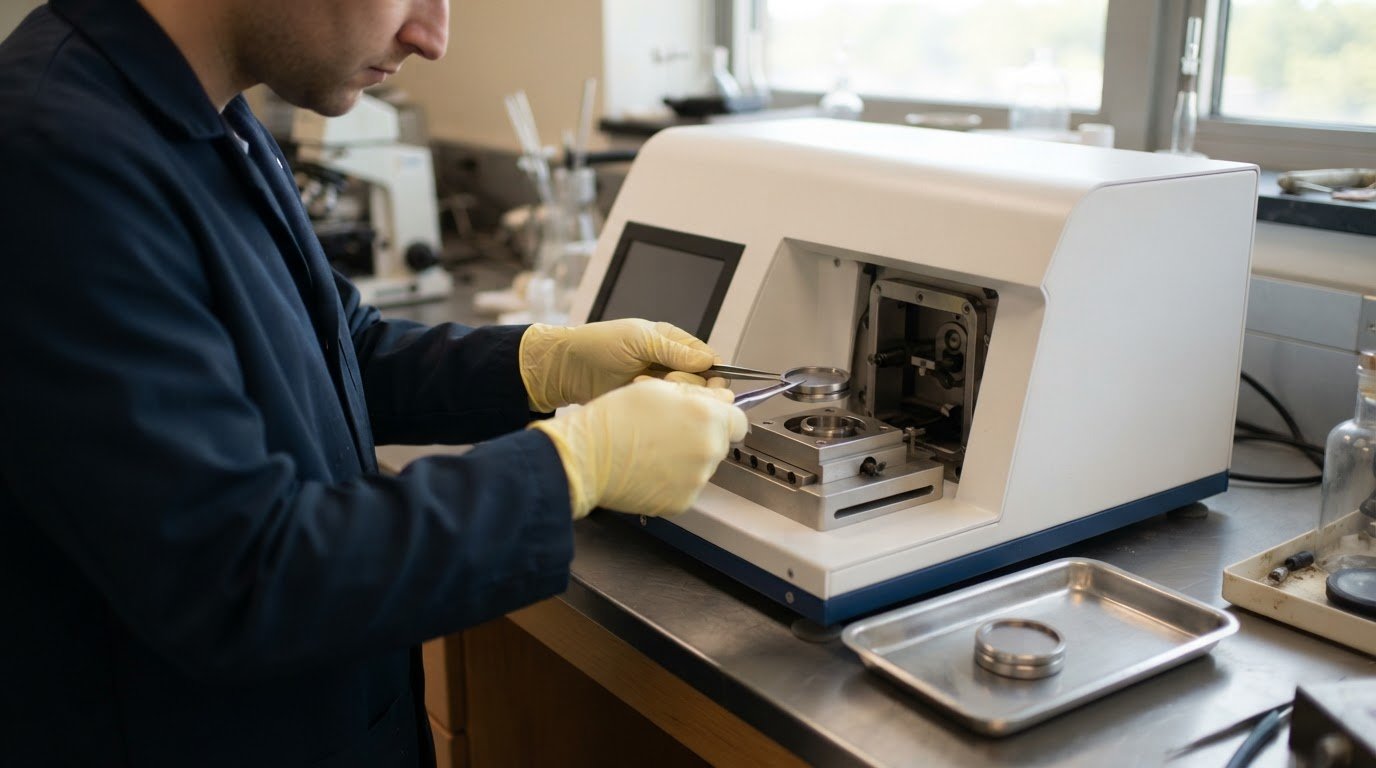
A polished surface is not necessarily ready for EBSD: preparation damage can compromise the diffraction patterns collected from the crystal lattice. Effective ebsd sample preparation combines careful mounting and staged material removal with a suitable final treatment, usually vibratory polishing or ion milling, to expose a clean, flat surface with minimal damage.
The right sequence depends on the material, specimen size, and mounting method. This guide explains how to mount specimens, manage resin without harming the sample, and choose between vibratory polishing and ion milling. It also covers practical checks to limit scratches, contamination, and surface relief before analysis. Matching the preparation route to the specimen’s properties helps produce a surface suited to reliable EBSD measurements.
Key Takeaways
- Choose a final polishing method based on the material, specimen size, and mounting approach.
- Use vibratory polishing to refine the surface, and stop when the required finish is achieved to limit relief.
- Consider ion milling after mechanical polishing to remove the damaged surface layer while preserving fine microstructural detail.
- Plan mounting and resin removal around the specimen’s sensitivity to heat and mechanical handling.
Vibratory polishing
For metal EBSD, grind with progressively finer abrasives, mechanically polish, then finish with colloidal silica or ion milling. Secure thin sections on a brass holder, and follow the chemical safety data and polisher operating procedures when handling suspensions and equipment.
-
Polish with Colloidal Silica
Mount each thin section face-up on a brass polishing holder, keeping its exposed surface level. Grind with silicon carbide papers from 240 grit through 1200 grit, then mechanically polish with 1 μm and 0.3 μm alumina for 10 minutes per abrasive. A typical setup runs papers at 10 lbf and 150 RPM, then alumina at 9 lbf and 130 RPM. Inspect scratches under an optical microscope.
-
Adjust Polishing for Titanium Microstructure
Apply colloidal silica, generally 0.02 μm, as the vibratory polishing finish. A typical final stage takes 2-4 hours; 2 hours gave the best result in one preparation comparison. Damp the pad until water covers 50-75% of its surface. Rinse the section thoroughly afterward to prevent silica crystallization, and stop once the required finish is reached to avoid excessive relief.
For titanium alloys around 350 HV or harder, use hard polishing for 1-2 minutes, followed by light polishing for about 30 seconds. Adjust the finish to the alloy’s hardness and microstructure, and inspect for scratches or relief before proceeding to EBSD.
-
Prepare Polished Sections for EBSD
Use a vibratory polisher when the specimen’s size and mounting method suit the process. The SYTON method described by Fynn and Powell in 1979 uses horizontal motion, typically at 7200 cycles per minute. Vibratory polishing can take from 15 minutes to overnight, depending on the specimen and processing time. Check each grinding stage under a light microscope, then clean the polished section before diffraction analysis.
- Before using the polisher, review the safety data for colloidal silica and follow the equipment’s operating instructions. Keep guards in place and prevent polishing suspension from contacting your skin or eyes.
Ion milling
After mechanical polishing, use ion milling to remove the remaining damaged surface layer and prepare a clean section for EBSD analysis. Choose broad-beam or focused milling according to the specimen area and material structure.
-
Assess Surface Damage from Ion Milling
Mechanically polish the specimen before milling, since an unprepared surface takes longer to process. Ion bombardment removes the top layer, exposing material that can produce clearer EBSD patterns, while vacuum conditions help keep the surface clean. However, ion implantation can damage the surface and create an amorphous layer, so balance material removal against preservation of the crystal structure.
- Use focused ion-beam milling when preparation must target a localized region, then inspect the resulting surface carefully. Localized heating can alter the surface structure relative to the bulk. In multiphase composites, focused milling can also leave uneven thickness or a lined, rough finish, limiting its suitability for large-area analysis.
-
Apply Broad Ion-Beam Milling
Select broad ion-beam milling for a wider area or a composite containing hard and soft phases. It can prepare those phases simultaneously, supporting EBSD analysis across their interfaces. First mechanically polish the cross-section; one preparation sequence polished to 1 µm before broad-beam milling. For example, broad-beam preparation took 3 hours for gold wire and 6 hours for an aluminum, diamond, and graphite composite.
- Set milling conditions for the material rather than transferring one recipe between specimens. A suggested magnesium starting stage uses 7 kV, a 12.5° beam angle, and 15 minutes, followed by a second stage at 5° for 15 minutes. For titanium, a suggested starting procedure uses 7 kV, a 12.5° angle, and 30 minutes. These examples illustrate material-specific processing, not universal settings.
- Review the prepared area before EBSD acquisition. Look for surface relief, milling lines, or localized damage that could disrupt diffraction patterns. If an insulating specimen charges, conductive mounting media or reduced SEM vacuum pressure can help address the issue.
Why EBSD specimens need clean, damage-free surfaces
Prepare a flat, crystalline surface free of contamination and preparation damage. EBSD patterns depend on electrons diffracted from the specimen’s near-surface crystal structure.
-
Minimize Surface Topography
Limit relief during cutting, grinding, and final polishing because EBSD specimens are tilted to 70° during analysis. Slope cutting can displace material and create localized topography. Multiphase samples may also develop uneven relief as different constituents respond differently to mechanical processing. Keep the surface as flat as practical, especially across phase boundaries, where height differences can affect the area available for measurement.
-
Clean and Dry the Surface
Remove polishing residue and contamination before placing the specimen in the SEM. For prepared magnesium, one cleaning procedure uses an ultrasonic bath with fresh ethanol mixed with ethylene glycol at approximately 10:1. Dry the surface before analysis, and avoid leaving residues that could obscure the crystal surface. A clean preparation helps ensure that measured patterns represent the specimen rather than material left behind during processing.
-
Check Surface Quality for Kikuchi Patterns
Before collecting diffraction data, check the prepared surface for scratches, oxidation, contamination, and remaining deformation. EBSD signals originate from the top few nanometers of the crystal lattice, so damage in this region can compromise Kikuchi patterns. Grit-based grinding damages the uppermost crystal surface, and subsequent preparation must remove that layer. A highly polished, flat, crystalline surface supports the pattern quality needed for analysis.
- Inspect the specimen under a light microscope after each grinding stage. Make sure scratches from the preceding abrasive are gone before moving to finer preparation. This staged check helps reveal residual damage before final polishing or milling. Reassess the finished area for topography and visible contamination, especially where cutting has displaced material or different phases meet.

Specimen mounting and resin removal
Choose a mounting technique that secures the specimen without altering its crystal structure or thermal history. For EBSD analysis, the alloy, resin, and charging behavior all influence the preparation sequence.
-
Mount and Trim the Specimen
Secure the specimen so its analysis face remains accessible for polishing and imaging. One mounting procedure uses a 3-minute preheat, 150º C, and 290 bar; the epoxy in that procedure has a 54ºC curing temperature. Treat these as procedure-specific conditions, not universal settings. Trim excess mounting material without cutting into the region intended for EBSD or disturbing the crystal surface.
-
Remove Resin from the Specimen
Avoid resin mounting for magnesium and aluminum when possible, because mechanical removal can scratch or distort these samples. If cold-mount resin must be removed, heating it to approximately 150°C can soften it, provided preserving precipitation or heat treatment isn’t important. Consider the specimen’s thermal history first: heat may change the structure that EBSD analysis is meant to characterize.
For geological sections, account for the effects of hot mounting. Some minerals can expand and fracture during heating, so choose a mounting technique compatible with the mineral assemblage.
-
Use Conductive Mounting or Coating
For an insulating specimen, conductive mounting media can help minimize charging and drift during SEM imaging. A thin carbon coat, carbon paint around the section edges and underneath it, or reduced SEM vacuum pressure can also help limit charging. Keep the analysis face suitable for EBSD, because coating or residue over the region of interest can interfere with measurement.
- For a specimen that can be mounted without an epoxy puck, consider direct mounting on a SEM stub; a steel example used this approach. After trimming and mounting, assess the exposed region before polishing or ion-beam processing. For SEM imaging systems suited to specimen analysis, explore SEM imaging options.
Electron Optics Instruments
Electron Optics Instruments, LLC offers SEM equipment for examining prepared specimens and microscopy work. Once polishing, mounting, and surface cleaning are complete, selecting an SEM suited to your research or industrial application is a practical next step. Our offerings include the Cube II Benchtop SEM, Genesis Tabletop SEM, and Veritas Series SEM, including the Veritas Plus SEM.
Discuss your imaging requirements and specimen workflow when evaluating which system fits your work. The relevant choice depends on how you intend to use the microscope, rather than on preparation method alone. For information about SEM options, contact Electron Optics Instruments, LLC.
Build the Next Stage of Your EBSD Workflow
Use your preparation decisions to define what the next stage of microscopy needs to accomplish. Consider the specimen types you examine, the detail your analysis requires, and how SEM imaging will support research or production decisions. These priorities can guide a practical discussion about equipment suited to your work, without assuming one microscope is right for every laboratory.
A consistent ebsd sample preparation workflow is most useful when it connects specimen condition with the questions your analysis needs to answer. As requirements evolve, revisit whether your imaging setup still aligns with the materials and applications you study. Electron Optics Instruments, LLC offers the Cube II Benchtop SEM, Genesis Tabletop SEM, and Veritas Series SEM for microscopy applications.
To discuss SEM equipment for your application, contact Electron Optics Instruments, LLC. A clear view of your specimen’s needs is a strong foundation for the next step.
Frequently Asked Questions
What is EBSD sample preparation and why is it important?
EBSD sample preparation prepares a specimen surface so its crystal structure can be analyzed using electron backscatter diffraction. The method matters because the diffraction signal comes from the crystal’s near-surface region, where grinding damage, oxidation, or residue can interfere with pattern collection. Preparation choices should preserve the structure of interest while removing artifacts introduced during cutting and polishing.
What sample surface requirements are needed for high-quality EBSD analysis?
A suitable surface should be flat, crystalline, and free from contamination and preparation-related damage. This is particularly important because specimens are typically tilted to 70° during EBSD analysis, making surface relief consequential. Scratches, oxidation, and polishing residue can affect collected patterns. Inspect the region of interest after preparation, paying attention to phase boundaries, where uneven material removal can create local height differences.
When should colloidal silica or vibratory polishing be used for EBSD?
Use colloidal silica as a final polishing abrasive after mechanical polishing has removed earlier grinding scratches and the specimen needs a refined surface. Vibratory polishing can be useful for soft metals, ceramics, and multiphase geological samples; it is optional for single-phase metals. Consider sample size and sensitivity to water or polishing oils, since very small unmounted samples and water-sensitive specimens may not suit this method.
How do you prepare EBSD samples by electropolishing or ion milling?
Choose electropolishing for suitable metals when electrolytic material removal can produce the required surface. It is not recommended for multiphase metals because preferential etching may occur. Ion milling is another final treatment, typically performed after mechanical polishing to remove residual surface damage. Choose conditions for the specimen material and region, since ion bombardment can itself damage the surface or create an amorphous layer.
How do preparation methods differ for metals, ceramics, minerals, and polymers?
Match preparation to the material’s phases and response to mechanical removal. Single-phase metals can use standard metallographic polishing with colloidal silica, while vibratory polishing is optional. Multiphase ceramics and geological materials are suited to mechanical polishing, and ion milling is also suitable for multiphase ceramics. For polymers, preserve the crystalline region of interest and do not assume metal-focused polishing conditions will transfer directly.
How can you remove deformation and surface damage that reduce EBSD pattern quality?
Remove preparation damage through staged grinding and polishing, progressing until the preceding abrasive’s scratches are gone. Inspect the surface under a light microscope after each grinding stage instead of carrying deep scratches into the final finish. Colloidal silica polishing or ion milling can address residual damage. Stop final polishing once the required surface finish is reached to avoid excessive relief.